This post may contain affiliate links. Please read our disclosure policy.
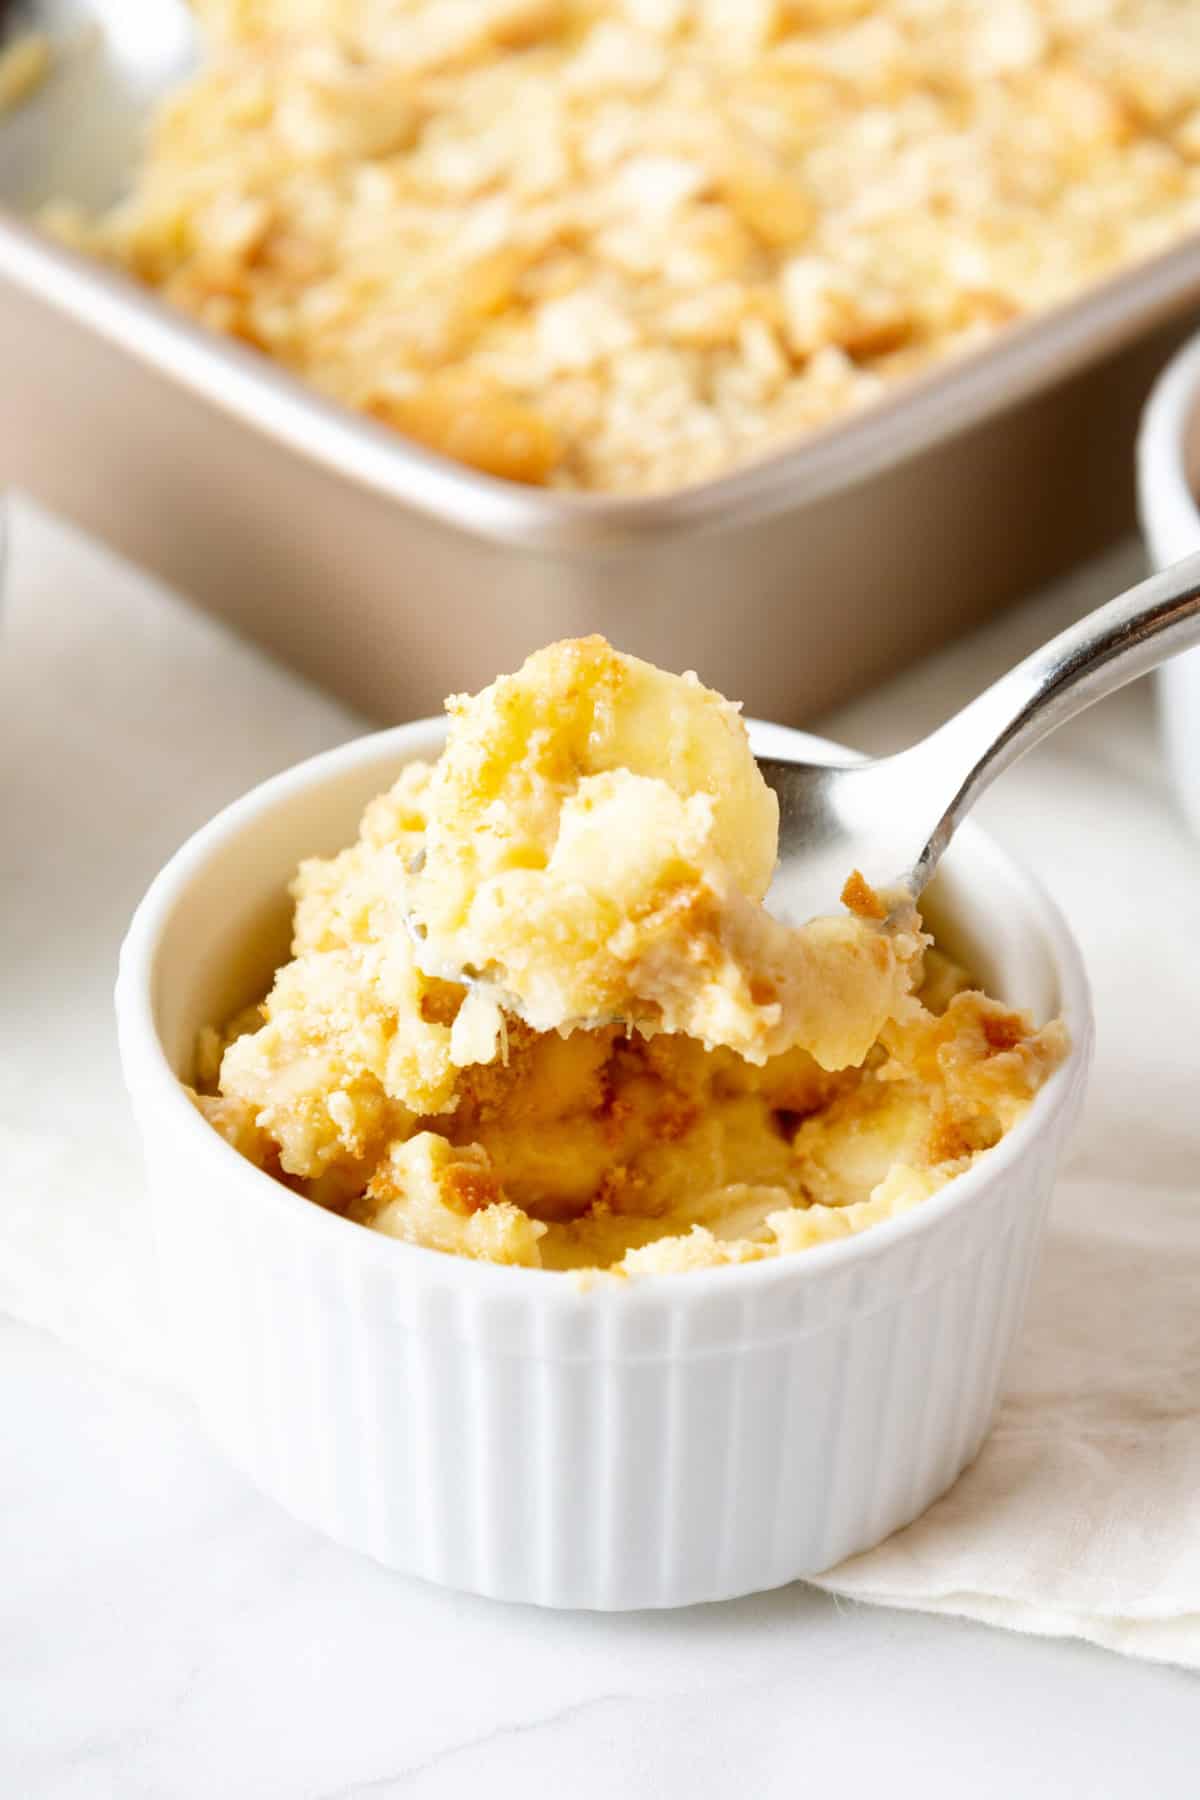
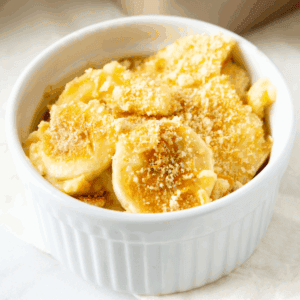
This classic homemade banana pudding is perfect for summer parties and backyard barbecues. No one can resist the layers of fresh bananas, vanilla wafers, and creamy vanilla pudding.
Pin this recipe now to save it for later
Pin RecipeBanana pudding was one of the first recipes I ever made as a young cook. I remember learning how to use the stove while stirring a pot of homemade vanilla pudding. I also remember how amazing banana pudding tastes when you are the one who made it.
Let’s face it: homemade food just always tastes better!
Homemade Banana Pudding Recipe
Whether it’s Paula Deen’s Not Yo’ Mama’s Banana Pudding, Chocolate Banana Pudding Bars, or classic Layered Banana Pudding, I think the reason why people love banana pudding so much is all the textures and flavors that are in the dish. The crunchy, sweet vanilla wafers are delicious with the silky, creamy pudding. Whoever was the original creator of the banana pudding deserves an award! It is such a perfect dessert. (As is this Banana Pudding Cookie recipe.)
Luckily, this nostalgic dessert recipe is fairly simple to make, especially when you use my easy banana pudding recipe. You start by layering vanilla wafers in a dish, then top them with some fresh banana slices. Pour homemade pudding into the pan and then continue to layer the ingredients until the pan is full. Once your pudding has time to chill, it’s ready to enjoy! This banana pudding recipe makes enough for eight people, so be sure to invite your friends over for dessert!
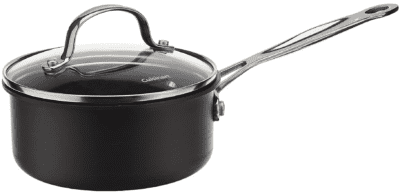
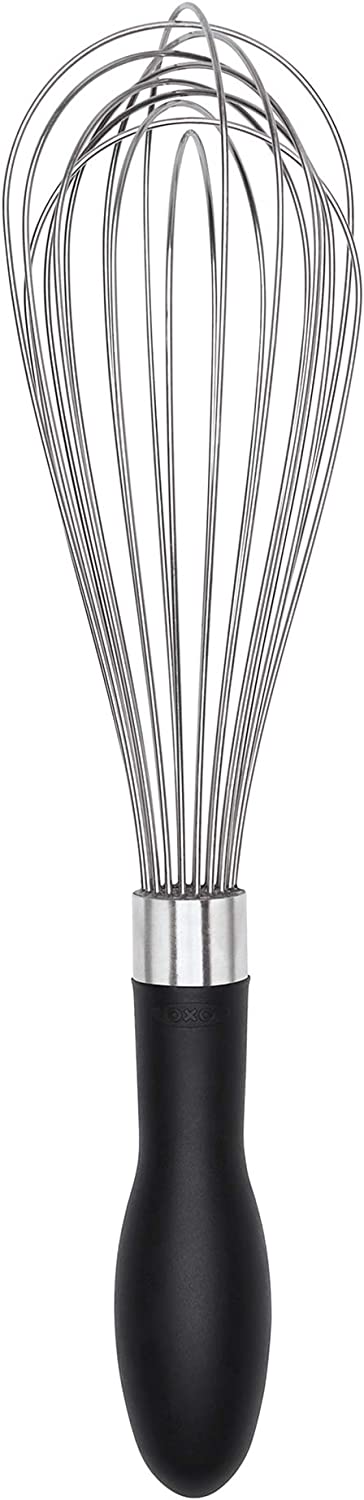
Grab My Favorite Tools
Click on the products below to see my favorite tools for making this recipe!
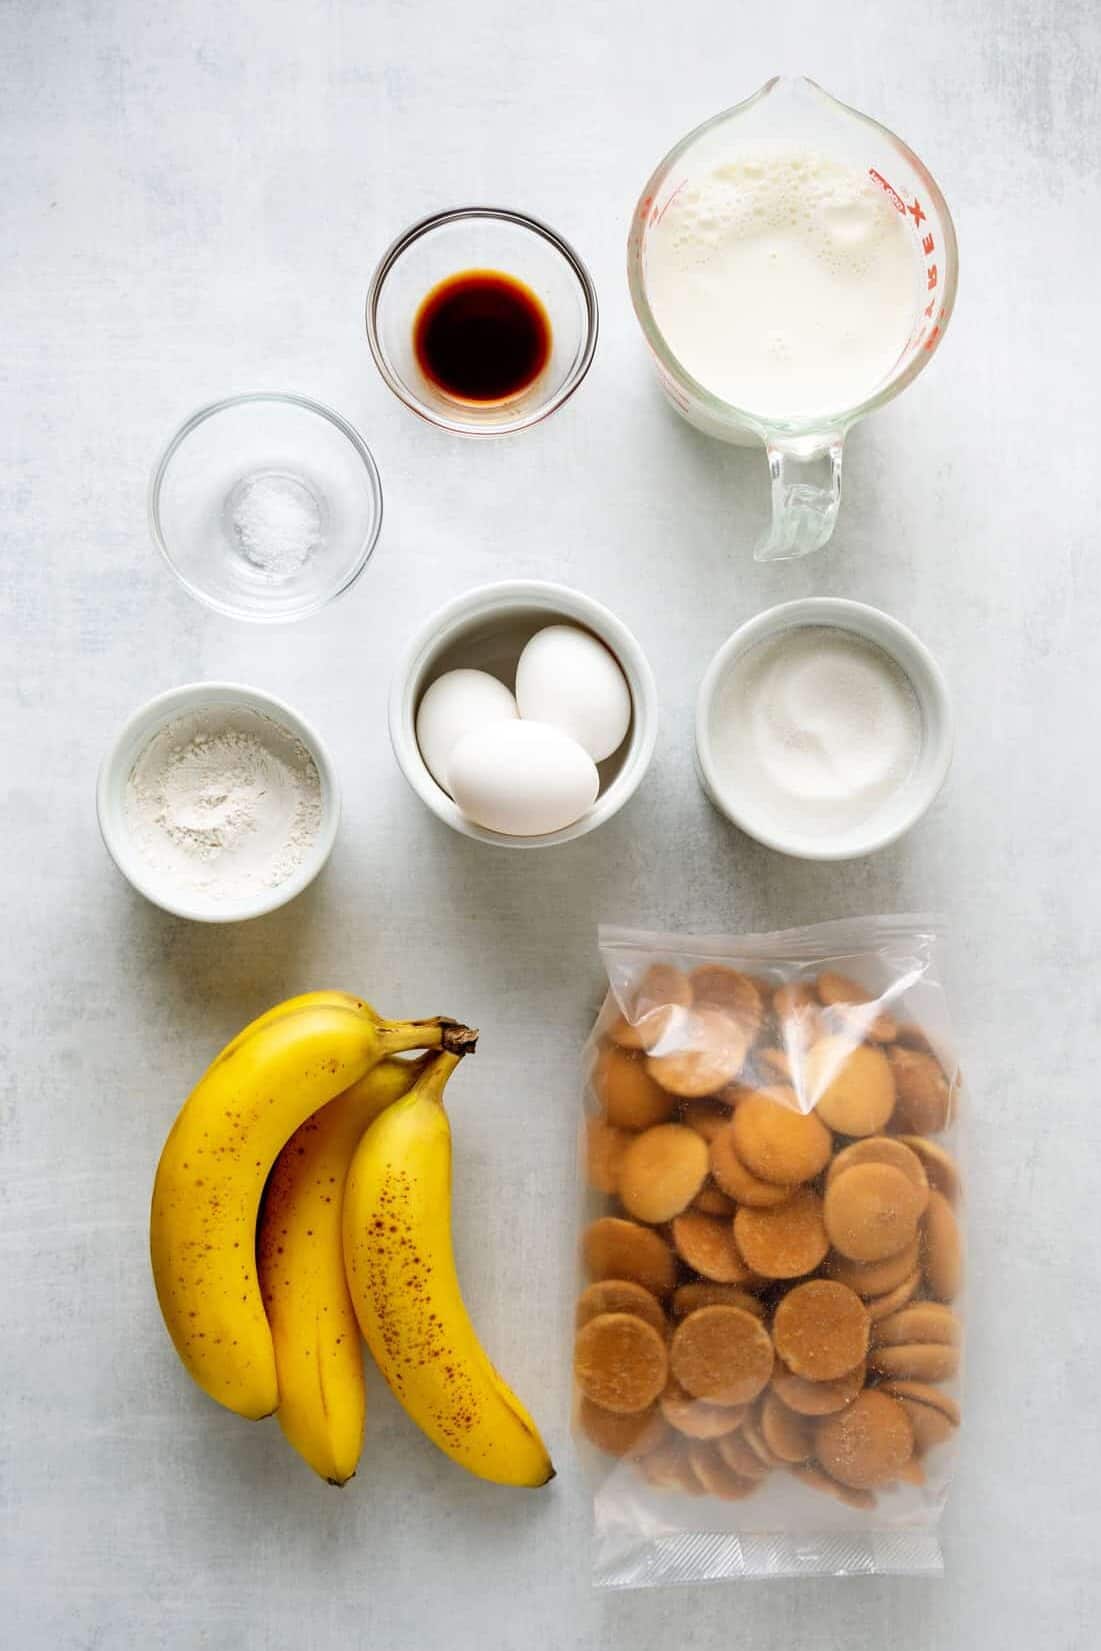
Ingredients for Banana Pudding
See recipe card below this post for ingredient quantities and full instructions.
- Nilla wafer cookies – Nilla wafers are the classic cookie for banana pudding. They have a great vanilla flavor and they are quite crunchy, so they hold up well with the soft pudding. (Want to try something different? This Chessman Banana Pudding is a crowd-pleaser too!)
- Bananas – Make sure your bananas are nice and ripe. The more brown spots on the skin, the sweeter the banana will be!
- Sugar
- Flour
- Salt
- Whole milk – You can use skim milk or even dairy-free milk to make the pudding. Any kind of milk will work!
- Vanilla
- Eggs – Here’s the best way to crack eggs.
Variations
- If you do not want to make the pudding from scratch, you can use instant boxed pudding. Use one large (5.1 ounces) box of vanilla Instant pudding and follow the directions on the box. This is a very easy, no-cooking required way to make banana pudding.
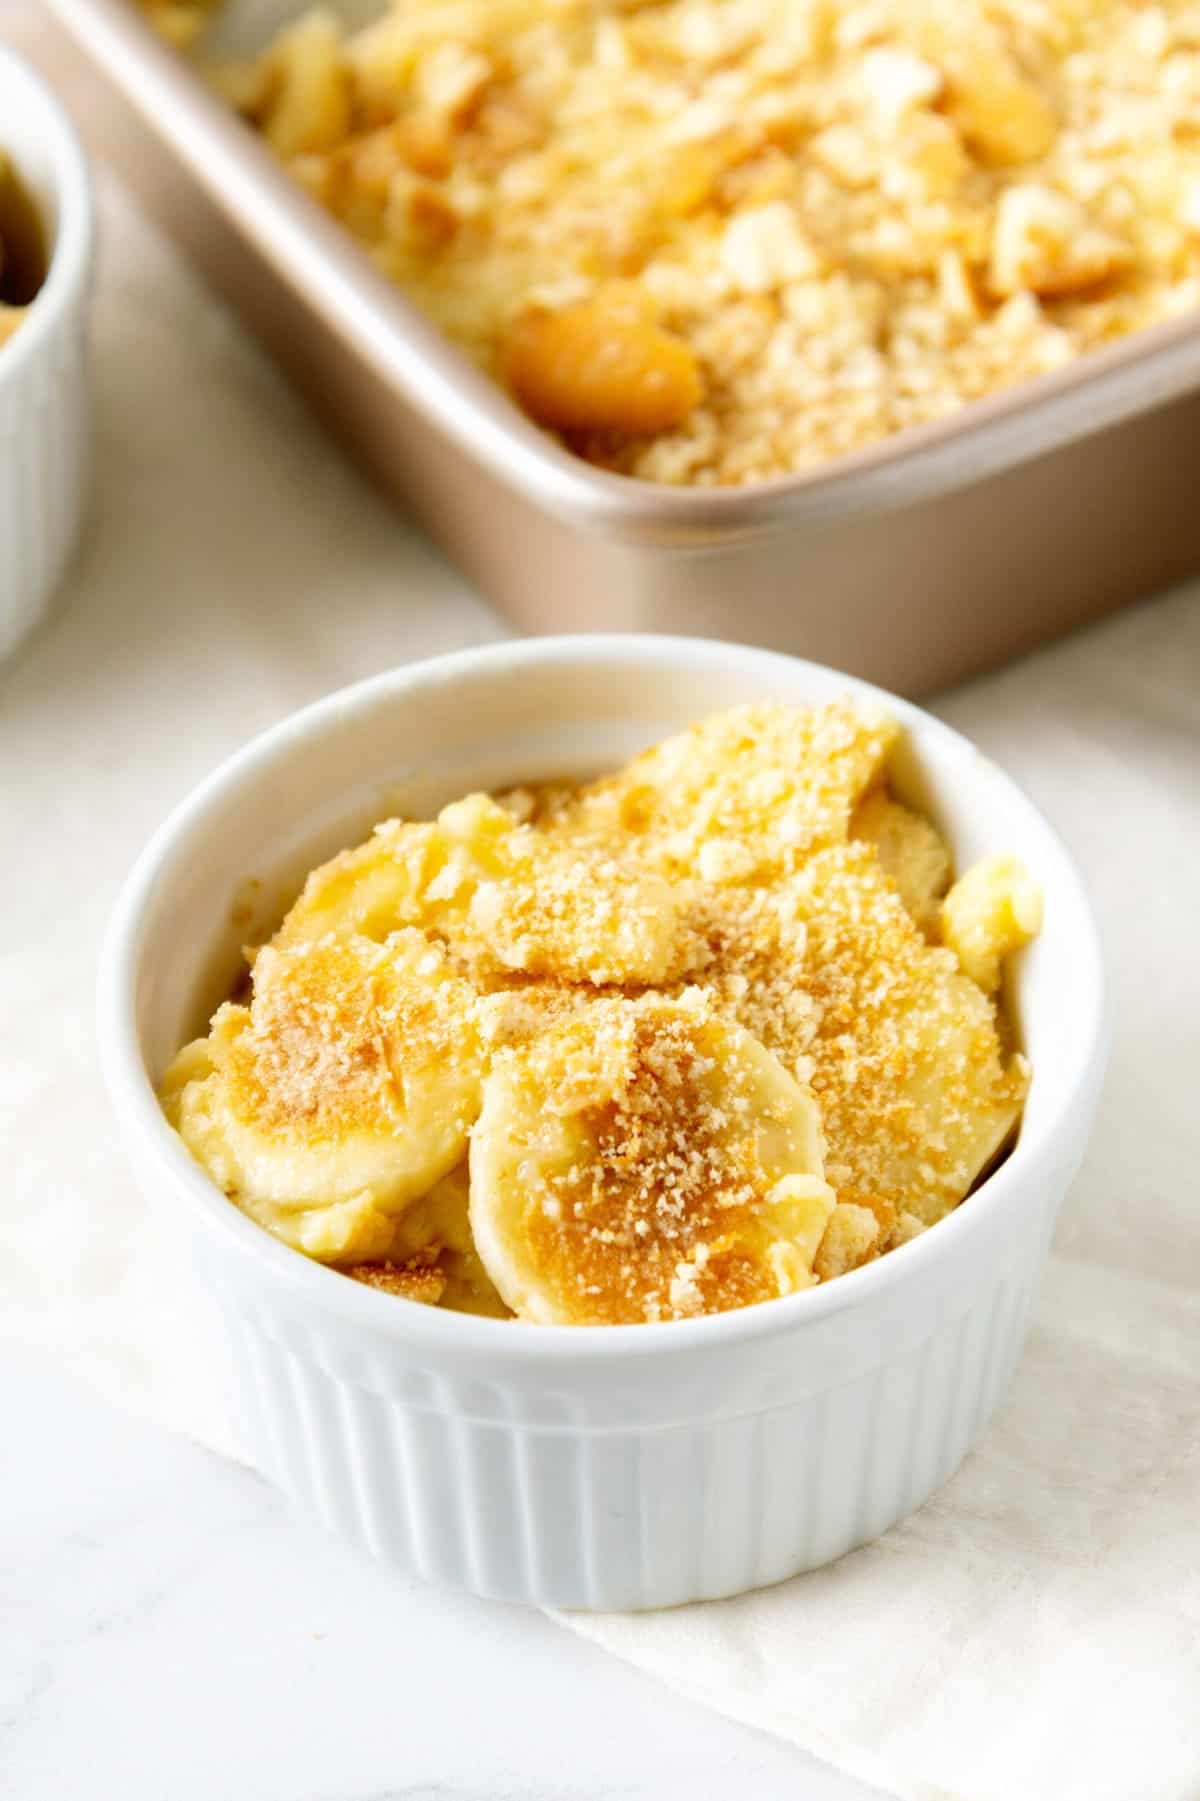
- Make individual puddings by layering the ingredients into ramekins rather than a large dish. (Use these Coconut Cream Pie Parfaits for inspiration!) This recipe will make about 8 ramekins of pudding. This is a perfect idea for serving at a sit-down dinner.
- Replace the whole milk with coconut milk or almond milk to make a dairy-free banana pudding recipe.
How to Make Banana Pudding
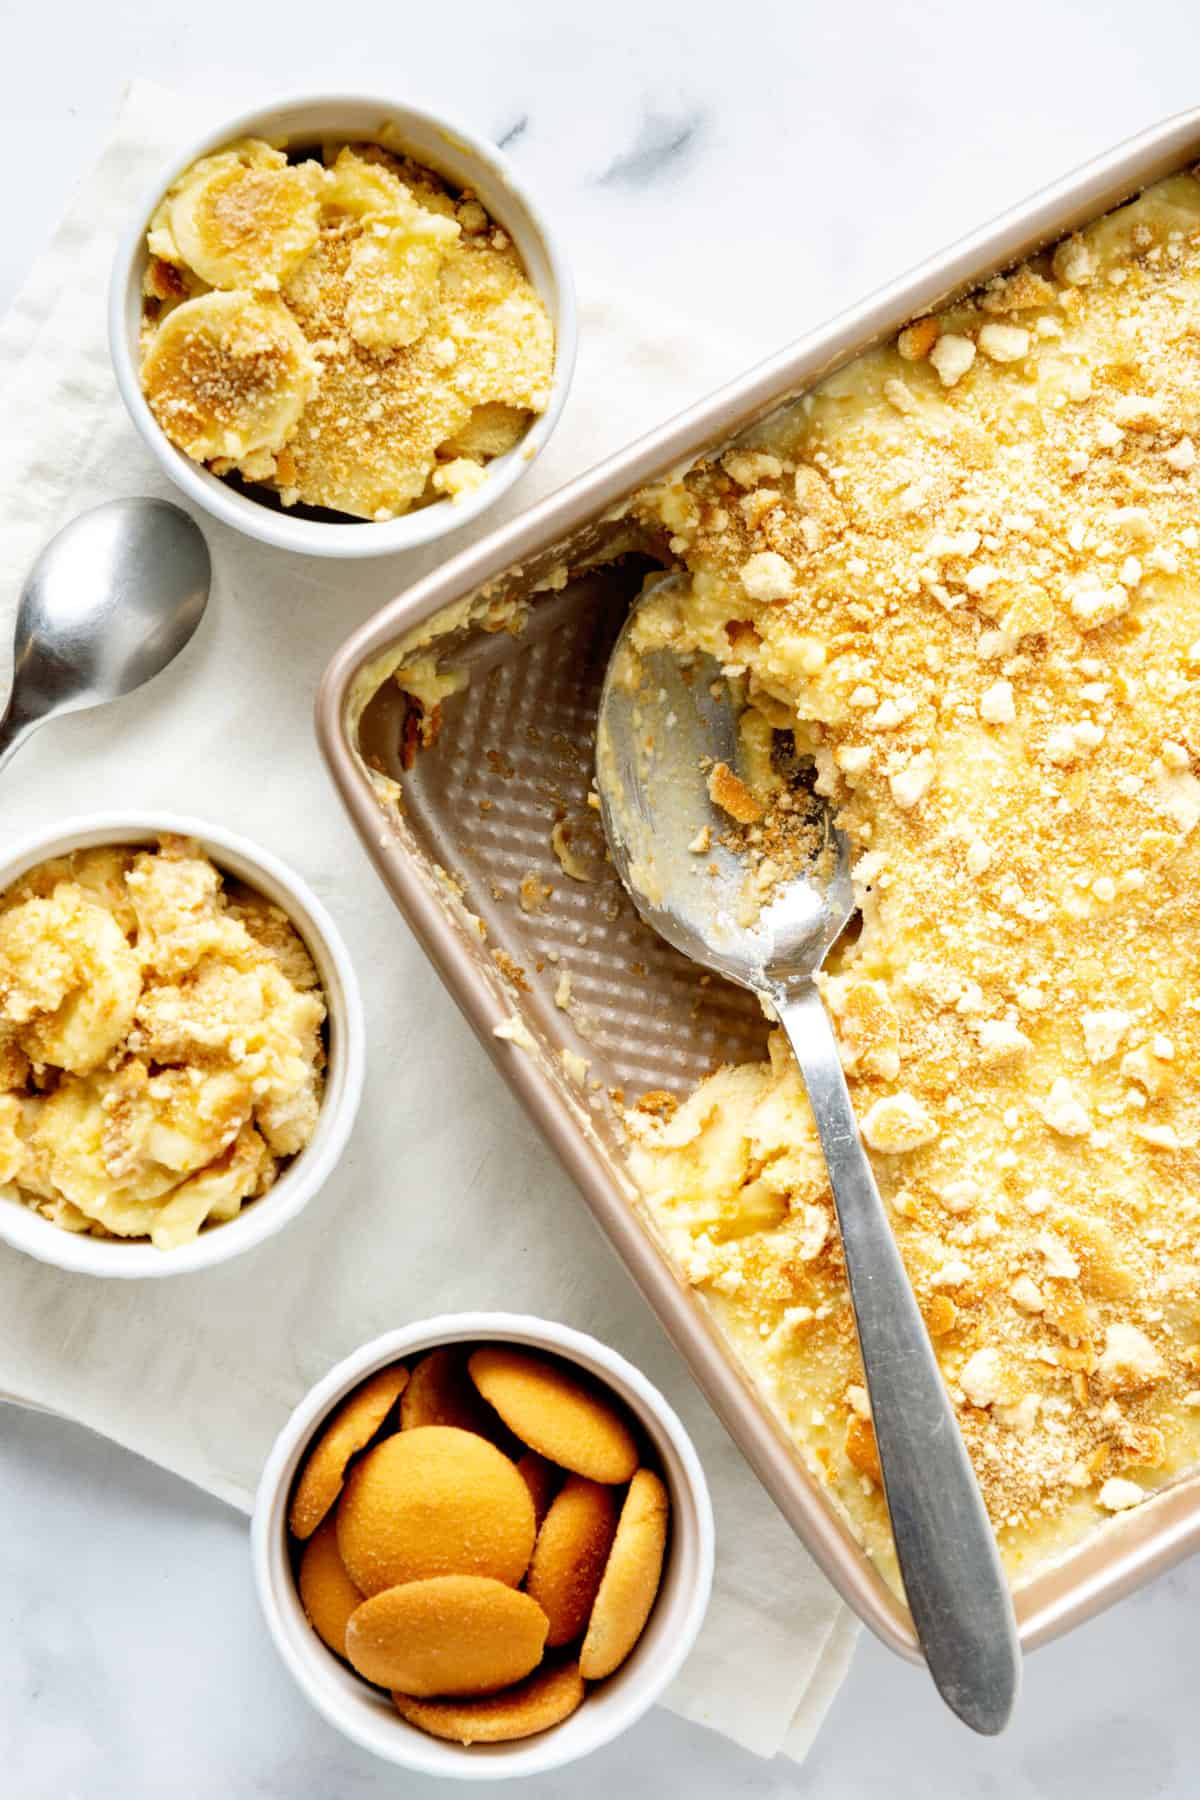
- Start layering: Make a layer of vanilla wafers in the bottom of an 8×8 pan, then top the cookies with a layer of sliced bananas. Set the pan aside while you start making the pudding.
- Start the pudding: Whisk the flour, sugar, and salt together in a medium-sized pot. Then whisk in the milk. In a separate bowl, whisk the eggs to break them up.
- Boil the milk: Bring the milk mixture to a boil over medium-high heat. Whisk often so the milk doesn’t burn on the bottom of the pot.
- Temper the eggs: Pour a little of the hot milk into the bowl of eggs and whisk constantly as you pour. Whisking the eggs while you add the hot milk will prevent them from cooking and scrambling. Adding a little hot milk to the eggs at a time is called “tempering” the eggs; it helps preheat the eggs slowly. Once you have tempered the eggs, you can add them to the pot and whisk them into the milk mixture.
- Cook the pudding: Return the pot to the stovetop and cook for 2 minutes, whisking constantly. The pudding will look thick. Remove the pot from the stove and whisk in the vanilla.
- Add the pudding: Pour half of the pudding over the Nilla wafers and bananas in the pan. Spread it into a flat layer, then top the pudding with another layer of Nilla wafers and bananas. Add the remaining pudding and smooth.
- Chill: Let the pudding cool in the fridge for about 4 hours. This will help it set and get to the perfect texture.
- Garnish: Sprinkle some chopped wafers over the top of the pudding before scooping and serving.
Quick Tip
Chocolate chips make a great addition to banana pudding and give this traditional recipe a little bit of a twist. Sprinkle chocolate chips over the layers of Nilla wafers before topping them with bananas. Add about 1/4 cup of chocolate chips to each layer.
How to Store Banana Pudding
Homemade banana pudding should be kept in the refrigerator, loosely covered. It will keep in the fridge for about 5 to 7 days. The Nilla Wafers will start to get a little soggy after about 4 days, so try to eat the pudding early while those tasty cookies still have a little bit of a crunch.
Serving Suggestions
A dollop of Cool Whip or homemade whipped cream is the perfect finishing touch for classic banana pudding!
FAQs
Pudding is made by heating a mixture of milk, sugar and flour on the stove. Once the milk mix boils, eggs are whisked in and then the mixture continues to cook until it is thick. Vanilla extract or other flavorings are added at the end and the pudding is chilled.
The bananas in the pudding are sealed inside the dish, and layered between the pudding and Nilla wafers. They are not exposed to air, which is what usually turns them brown. Make sure there are no air pockets between your layers of pudding and bananas to make sure they stay nice and yellow!
I use flour to make my pudding nice and thick. The flour will naturally thicken the milk mixture as it cooks, making a perfectly textured pudding. Many people also use cornstarch to thicken the pudding. The eggs added at the end of the pudding recipe also help stabilize the pudding and keep its nice, creamy texture.
More Delicious Dessert Recipes
Quick & Easy Desserts
Copycat Chick-fil-A Brownies
Cake
Lemonade Cake

Quick & Easy Desserts
Old-Fashioned Peach Crumble (Just Like Grandma’s!)
Need help with this recipe?
Click the buttons below to summarize it, adjust for diets, swap ingredients, or ask your own questions!
Homemade Banana Pudding
Ingredients
- 1 box (11 ounces) Nilla wafer cookies
- 4 ripe bananas
- ¾ cup sugar
- ¼ cup flour
- ¼ teaspoon salt
- 2 cups whole milk
- 1 tablespoon vanilla extract
- 3 eggs
Instructions
- Slice the bananas into circles, cutting them about ¼” thick.
- Place a layer of Nilla wafers in the bottom of an 8×8 pan, making a single layer of cookies across the bottom. Top the cookies with a single layer of banana slices, using about 2 bananas. It is okay if the banana slices overlap. Set the pan, extra banana slices and Nilla wafers aside.
- In a medium sized sauce pan, whisk the sugar, flour and salt together. Whisk in the milk.
- In a separate medium sized bowl, whisk the eggs, breaking them up slightly.
- Put the saucepan with the milk on the stove and heat over medium heat, whisking occasionally to prevent the milk from burning on the bottom of the pan.
- Once the milk starts to boil, whisk constantly for 2 minutes. The pudding will start to look thick. Remove the pot from the stove and whisk in the vanilla.
- Scoop about ¼ cup of the hot pudding into the bowl with the eggs and whisk immediately so the eggs do not scramble. Pour this mixture back into the pot with the rest of the pudding and whisk again to incorporate the eggs into the mix.
- Return the pot to the stovetop and cook for 2 more minutes, whisking the whole time. The pudding will look smooth and thick.
- Pour half of the hot pudding into the 8×8 pan, covering the wafers and banana slices completely. Try to make a nice, even layer of pudding.
- Add another layer of Nilla wafers to the pan followed by another layer of bananas. Try to use the rest of the banana slices in this layer.
- Pour the rest of the pudding into the pan and smooth the top with a spatula or spoon.
- Cover the pan loosely and place it in the fridge to set for about 4 hours.
- Before serving, sprinkle some chopped wafers over the top of the pudding then scoop and serve!
Notes
- You can spread a layer of Cool Whip over the top of the banana pudding once it has cooled.
- Assemble your pudding in a trifle dish for a fancier presentation. A glass dish with high, straight sides is nice, as you can see the layers of the pudding.